Information
 Updated, this function becomes more friendly to user.
It can create files for contour cutting: for print and for cut.
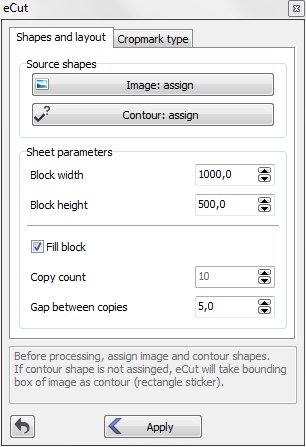
On main tab you can specify block size and main placing parameters.
Also you can simply fill your material with stickers.
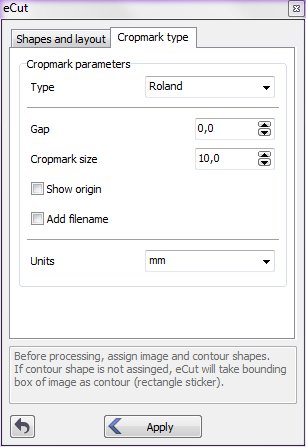 In additional tab you can specify cropmarks type.
There are two types of sticker that can be made: complex shape and rectangle.
Complex shape sticker
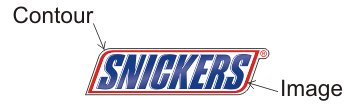
For example we need this sticker:

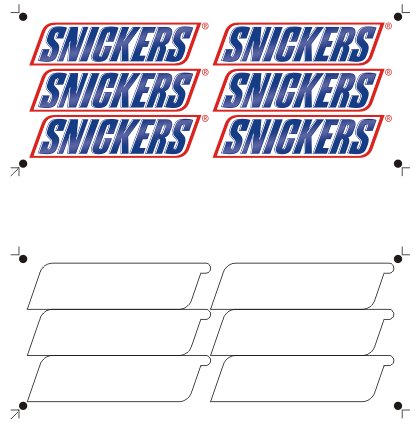
First of all you have to group print shape and contour shape separately: you have to have only 2 shapes.
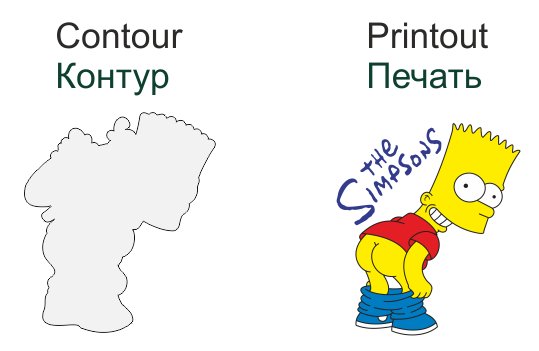
Then, fit print and contour.

Now launch contour cutting function.
Set all parameters as you need.
Assigning shapes
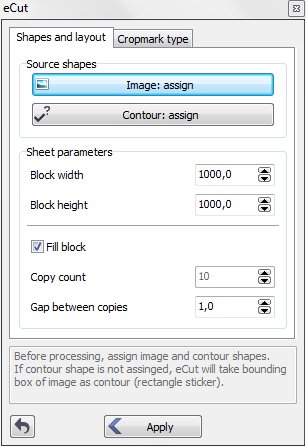
Now you need to assign print-shape and contour-shape.
Select shape that must be printed and press “Image:assign”
Now select contour and press “Contour:assign”.
After you finish, eCut will remember your shapes and we can proceed.
After assigning, you have to add print-shape and contour-shape to selection. Another words – select this two objects.
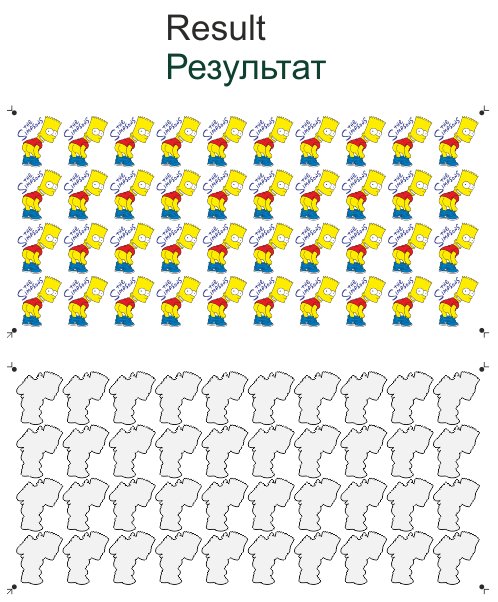
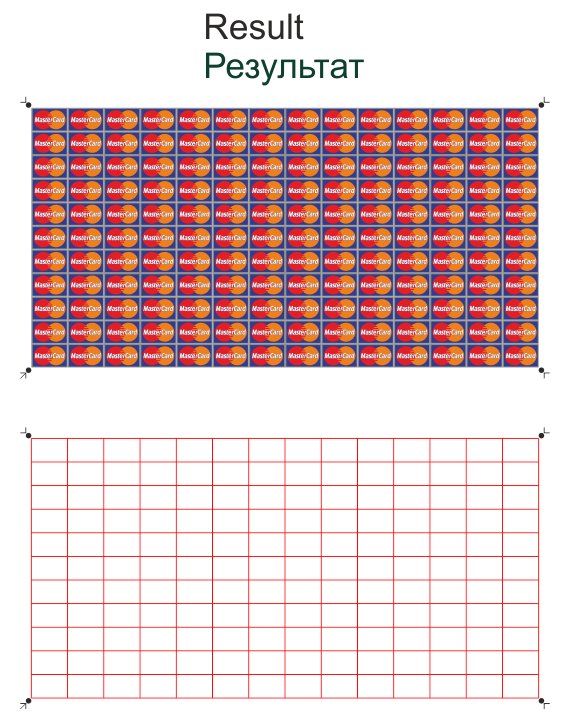
Press “Apply” and you’ll get this resul.
Rectangle sticker
Rectangle sticker is easier to prepare.

You do not need to create contour for rectangle sticker, eCut will take its bounding box as contour.
Steps are same: start function and set placing parameters.
Assigning shapes
Select your shape (that you’ll print) and press “Image: assign” button.
You do not need to assign contour!
After assigning, you have to add print-shape to selection. Another words – select it.
Press “Apply” button and get result
How it works